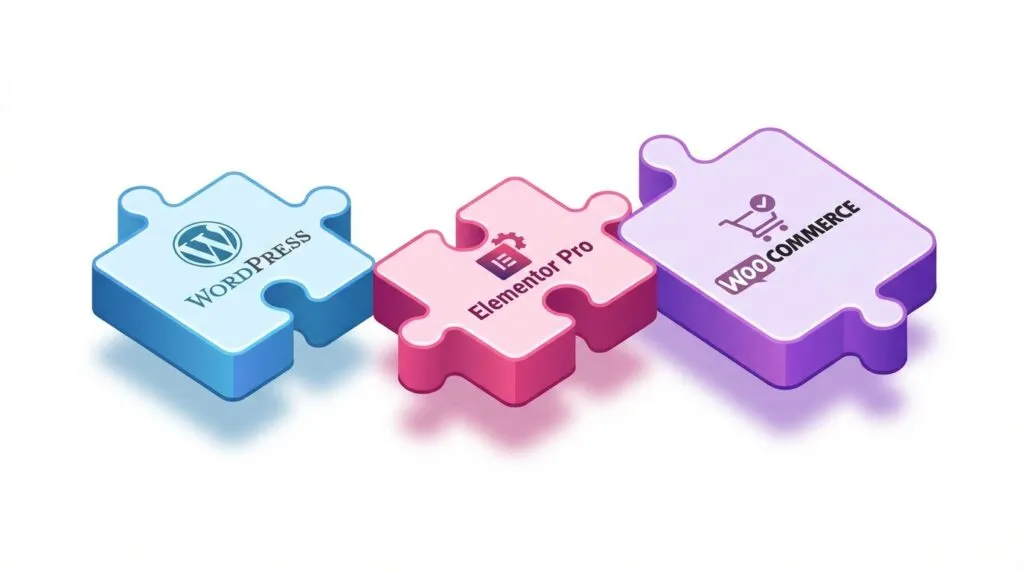
Building an online store doesn’t have to be complicated or expensive. If you’re already using WordPress and have Elementor Pro, you have everything you need to create a professional, fully-functional WooCommerce store without writing a single line of code. In this guide, we’ll walk you through the entire process of building a WooCommerce store using only Elementor Pro’s powerful features, from initial setup to your first sale.
Why Build Your WooCommerce Store with Elementor Pro?
Before we dive into the how-to, let’s understand why Elementor Pro is an excellent choice for building your eCommerce site:
- Complete visual control: Design every aspect of your store with drag-and-drop simplicity
- No coding required: Create professional layouts without technical knowledge
- Built-in WooCommerce widgets: Access dedicated product displays, cart pages, and checkout forms
- Dynamic content capabilities: Display products, categories, and customer data automatically
- Responsive design tools: Ensure your store looks perfect on all devices
- Fast performance: Optimized code means faster loading times and better conversions
If you’re looking for professional help with your Elementor project, Fractal Studio specialises in Elementor web design and can help bring your vision to life.
Prerequisites: What You’ll Need
Before starting, ensure you have:
- WordPress installed on your hosting account
- Elementor Pro (the free version lacks WooCommerce widgets)
- WooCommerce plugin installed and activated
- A WordPress theme (We recommend Hello Elementor)
Step 1: Install and Configure WooCommerce
First, let’s get WooCommerce set up properly:
Installing WooCommerce
- Navigate to Plugins > Add New in your WordPress dashboard
- Search for “WooCommerce”
- Click Install Now, then Activate
- Complete the WooCommerce setup wizard:
- Enter your store details (address, currency, etc.)
- Configure payment gateways (Stripe, PayPal, etc.)
- Set up shipping zones and methods
- Add your first product categories
Essential WooCommerce Settings
Navigate to WooCommerce > Settings and configure:
- General: Set your location, currency, and selling locations
- Products: Configure shop page display, product measurements
- Shipping: Set up shipping zones, methods, and costs
- Payments: Enable your preferred payment gateways
- Accounts & Privacy: Configure customer account options
- Emails: Customize transactional email settings
For businesses requiring comprehensive eCommerce solutions, professional setup ensures everything is configured correctly from the start.
Step 2: Set Up Your Theme for Elementor
To give Elementor complete control over your store design, you’ll want to use Elementor’s Theme Builder:
- Go to Elementor > Theme Builder in your WordPress dashboard
- Click Add New and choose what you want to create (Header, Footer, Single Product, Archive, etc.)
- Select Create Template and choose from Elementor’s library or start from scratch
Pro Tip: Use a minimal theme like Hello Elementor (made by Elementor) or Astra. These themes are lightweight and won’t interfere with your Elementor designs. 
Step 3: Design Your Homepage
Your homepage is your store’s first impression. Here’s how to create a compelling eCommerce homepage:
Create a New Page
- Go to Pages > Add New
- Name it “Home” or “Shop”
- Click Edit with Elementor
Essential Homepage Sections
Hero Section
- Add a Hero widget or use a Section with background image
- Include a compelling headline highlighting your unique value proposition
- Add a clear call-to-action button linking to your shop page
- Use high-quality product images or lifestyle photography
Featured Products
- Drag the Products widget onto your page
- In the widget settings, choose “Query > Featured Products”
- Set the number of columns (typically 3 or 4)
- Customize the product card design (show/hide elements, adjust spacing)
- Style the product titles, prices, and buttons to match your brand
Product Categories
- Add the Categories widget
- Choose which categories to display
- Select a layout style (classic, overlay, etc.)
- Add category images for better visual appeal
Bestsellers or Sale Items
- Add another Products widget
- Set query to “Best Selling” or “On Sale”
- Use a different layout style to create visual variety
- Add a section heading widget above to label the section
Trust Signals
- Add testimonials using the Testimonial widget
- Include logos of brands you carry or have worked with
- Display badges (free shipping, money-back guarantee, secure checkout)
- Add an Instagram feed widget showcasing your products in use
Newsletter Signup
- Use Elementor’s Form widget
- Integrate with your email marketing service (Mailchimp, ConvertKit, etc.)
- Offer an incentive (10% off first order, exclusive content)
Step 4: Create Your Shop Page
WooCommerce creates a default shop page, but with Elementor Pro, you can completely customize it:
Method 1: Using the WooCommerce Archive Template
- Go to Elementor > Theme Builder
- Click Add New > Archive
- Select Products Archive as the type
- Click Create Template
Design Your Shop Archive
Add Essential Elements:
- Archive Title: Shows “Shop” or category names dynamically
- Products widget: Set to display archive products
- Breadcrumbs: Help users navigate your site structure
- Sidebar (optional): Add filters, categories, or search
Configure Product Grid:
- Set columns per row (3-4 works well on desktop)
- Adjust rows per page
- Choose “Load More” or pagination style
- Customize mobile responsiveness
Add Filtering Options:
- Use the WooCommerce Product Sort widget
- Add category navigation
- Include price filter if applicable
- Consider adding attribute filters (size, colour, brand)
Method 2: Custom Shop Page with Archive Posts Widget
Alternatively, create a regular page:
- Create a new page called “Shop”
- Edit with Elementor
- Add the Archive Posts widget
- Configure it to display products
- Set this page as your shop page in WooCommerce > Settings > Products
Step 5: Design Individual Product Pages
 Single product pages are where customers make buying decisions. Make them count:
Create a Product Template
- Navigate to Elementor > Theme Builder > Single
- Select Add New > Single Product
- Choose Create Template
Essential Product Page Elements
Product Images Section:
- Use the Product Images widget
- Enable gallery functionality
- Consider enabling zoom on hover
- Add a video if available (use Elementor Pro’s Video widget)
Product Information:
- Product Title widget
- Product Price widget (shows regular and sale prices)
- Product Rating widget
- Product Meta (SKU, categories, tags)
- Short Description widget
Add to Cart Section:
- Add to Cart widget
- Show product variations (size, colour, etc.)
- Display stock status
- Add quantity selector
Product Details:
- Product Data Tabs (Description, Additional Info, Reviews)
- Or use Product Content widget for full description
- Add custom tabs with additional information
Trust & Urgency Elements:
- Add icons for shipping, returns, guarantees
- Display “Only X left in stock” using stock status
- Show recent sales or product views (requires additional plugin)
- Add related products section
Social Proof:
- Enable and style product reviews
- Add social share buttons
- Display “As seen on” badges if applicable
Styling Tips
- Use plenty of white space for a premium feel
- Ensure images are high-quality (minimum 1000px wide)
- Make the “Add to Cart” button prominent and action-oriented
- Use consistent typography throughout
- Test on mobile devices, product pages get most mobile traffic
For businesses wanting expertly crafted product pages, professional WordPress development ensures optimal conversion rates. 
Step 6: Build Your Cart Page
A streamlined cart page reduces abandonment:
Create the Cart Template
- Go to Pages and find your WooCommerce “Cart” page
- Click Edit with Elementor
Cart Page Elements
Use these Elementor Pro widgets:
- Cart widget: Displays cart contents with quantity adjusters
- Cart Summary: Shows subtotal, shipping costs, and totals
- Coupon Code field
- Continue Shopping button
- Proceed to Checkout button (make it prominent!)
Additional Elements to Consider:
- Trust badges near the checkout button
- Estimated delivery information
- Cross-sell products (related items customers might want)
- Cart abandonment incentive (free shipping threshold)
- Security reassurance icons
Step 7: Design Your Checkout Page
The checkout page is critical, keep it simple and trustworthy:
Edit the Checkout Page
- Find your “Checkout” page under Pages
- Click Edit with Elementor
Checkout Page Best Practices
Essential Elements:
- Checkout widget (displays billing/shipping forms)
- Order Summary (review of products being purchased)
- Trust badges and security icons
- Clear payment method icons
- Privacy policy link
- Contact information for support
Optimization Tips:
- Enable guest checkout option
- Minimize form fields (only ask for essential information)
- Use a single-column layout on mobile
- Show progress indicator if using multi-step checkout
- Display “Secure Checkout” messaging prominently
- Add testimonials or trust signals near payment section
Design Considerations:
- Keep design minimal and distraction-free
- No navigation header (reduce exit opportunities)
- Make form fields large and easy to fill on mobile
- Use clear error messaging
- Show total cost before final submission
Step 8: Create Essential WooCommerce Pages
My Account Page
Customize your My Account page:
- Edit the WooCommerce “My Account” page with Elementor
- Add the My Account widget
- Customize the layout and styling
- Add welcome messages or account benefits
- Include links to support or FAQs
Thank You Page
Create a custom order received template:
- Create a new template under Single > Order Received
- Use the Order Details widget
- Add upsell products or cross-sells
- Include social share buttons
- Add email signup form
- Display next steps or delivery information
Step 9: Add Navigation and Categories
Create a Custom Header
- Go to Elementor > Theme Builder > Header
- Add your logo using the Image widget
- Add navigation menu using Nav Menu widget
- Include the Search Form widget
- Add the WooCommerce Menu Cart widget (shows cart icon with count)
- Make it sticky for easy access while scrolling
Category Pages
Create custom templates for product categories:
- Use Theme Builder > Archive > Products Archive
- Design category-specific banners using conditions
- Add category descriptions
- Include subcategory navigation
- Apply different conditions for different categories

Step 10: Optimise for Mobile
With most eCommerce traffic coming from mobile, this step is crucial:
Mobile Optimisation Checklist
- Switch to Mobile view in Elementor’s responsive mode
- Adjust column layouts (typically 1-2 columns on mobile)
- Increase button sizes for easier tapping
- Test all forms for mobile usability
- Optimize image sizes for faster loading
- Simplify navigation for smaller screens
- Ensure text is readable without zooming
- Test the entire purchase flow on actual mobile devices
Mobile-Specific Tips:
- Stack sections vertically
- Increase spacing between clickable elements
- Make form fields full-width
- Use larger font sizes (minimum 16px for body text)
- Enable touch-friendly sliders and galleries
Step 11: Add Essential Functionality
Payment Gateways
Configure your payment options:
- Go to WooCommerce > Settings > Payments
- Enable your preferred gateways:
- Stripe (credit/debit cards)
- PayPal
- Bank transfer
- Cash on delivery
- Configure each gateway’s settings
- Test transactions before going live
Shipping Configuration
Set up shipping rules:
- Navigate to WooCommerce > Settings > Shipping
- Create shipping zones (by country, region, postcode)
- Add shipping methods:
- Flat rate
- Free shipping (set minimum order value)
- Local pickup
- Table rate shipping (requires plugin)
- Calculate shipping costs accurately
Email Notifications
Customize transactional emails:
- Go to WooCommerce > Settings > Emails
- Customize each email type:
- Order confirmation
- Order processing
- Order completed
- Password reset
- Add your logo and brand colours
- Write customer-friendly copy
- Test all email templates

Step 12: Add Products
Now for the fun part, adding your products:
Creating Individual Products
- Go to Products > Add New
- Enter product name and description
- Add product images and gallery
- Set regular price and sale price (if applicable)
- Configure inventory settings
- Add product categories and tags
- Set shipping class if needed
- Add product attributes (size, colour, etc.)
- Create variations if applicable
Product Data Configuration
For Simple Products:
- Set price
- Manage stock quantity
- Add weight and dimensions
- Configure downloadable options (if digital)
For Variable Products:
- Add attributes (colour, size, etc.)
- Create variations for each combination
- Set individual prices per variation
- Upload variation-specific images
- Manage stock at variation level
Product Images:
- Use high-quality images (minimum 1000x1000px)
- Include multiple angles
- Show product in use
- Maintain consistent styling across all products
- Optimize file sizes for web performance
Bulk Import
For stores with many products:
- Use WooCommerce’s CSV importer
- Prepare your product data spreadsheet
- Go to Products > Import
- Map your CSV columns to WooCommerce fields
- Run the import and review results

Step 13: Performance Optimization
A fast store converts better. Here’s how to optimize:
Speed Optimization
- Install a caching plugin (WP Rocket, W3 Total Cache)
- Optimize images with Smush or ShortPixel
- Enable lazy loading for images
- Use a CDN for faster global delivery
- Minimize CSS and JavaScript files
- Remove unused Elementor widgets
- Limit fonts and font weights
WooCommerce-Specific Optimization
- Disable cart fragments if not needed
- Limit related products shown
- Remove unnecessary WooCommerce scripts from non-shop pages
- Enable product image regeneration
- Optimize database regularly
For comprehensive website management including performance optimization, professional support can ensure your store runs at peak efficiency. 
Step 14: SEO Configuration
Help customers find your store in search results:
Install an SEO Plugin
Use Yoast SEO or Rank Math:
- Install and activate your chosen SEO plugin
- Configure basic settings (site name, social profiles)
- Enable WooCommerce integration
Product Page SEO
For each product:
- Write unique, descriptive product titles
- Create compelling meta descriptions
- Use relevant keywords naturally
- Add alt text to all images
- Structure content with headings
- Include schema markup (handled by plugin)
Category and Archive Pages
- Write unique category descriptions
- Create SEO-friendly category URLs
- Add relevant metadata
- Optimize category images
- Internal linking between related categories
For professional SEO services that drive organic traffic to your store, expert optimization can significantly improve your search rankings. 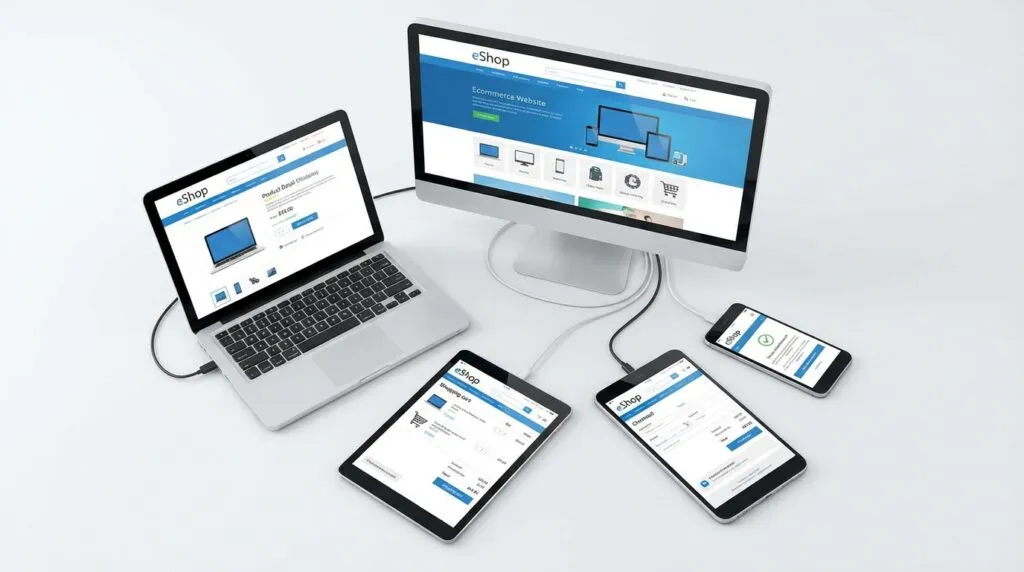
Step 15: Testing Before Launch
Never skip the testing phase:
Functional Testing
- Test the entire purchase flow (browse to checkout)
- Try different payment methods
- Test all forms and buttons
- Verify email notifications are sent
- Check coupon codes work correctly
- Test on multiple browsers (Chrome, Firefox, Safari, Edge)
- Use different devices (desktop, tablet, mobile)
User Experience Testing
- Ask friends or family to test
- Check loading speeds on slow connections
- Verify navigation is intuitive
- Ensure all links work correctly
- Test search functionality
- Review mobile experience thoroughly
Security Testing
- Ensure SSL certificate is installed
- Check payment gateway security
- Test privacy policy and terms pages exist
- Verify customer data is protected
- Enable security plugins (Wordfence, Sucuri)

Step 16: Launch and Beyond
Pre-Launch Checklist
- [ ] All products added and priced correctly
- [ ] Shipping zones configured
- [ ] Payment gateways tested
- [ ] Legal pages complete (Terms, Privacy, Returns)
- [ ] Contact information visible
- [ ] About page completed
- [ ] Email notifications working
- [ ] Google Analytics installed
- [ ] Site backed up
- [ ] 404 pages customized
Post-Launch Activities
Marketing:
- Set up email marketing campaigns
- Create social media accounts
- Start content marketing (blog posts)
- Consider paid advertising (Google Ads, Facebook)
- Build an email list with popups and incentives
Analytics:
- Monitor Google Analytics
- Track conversion rates
- Review abandoned carts
- Analyze top-performing products
- Study customer behavior flow
Ongoing Optimization:
- A/B test product pages
- Improve product descriptions based on questions
- Add more product images
- Update inventory regularly
- Respond to customer reviews
- Optimize based on analytics data
Advanced Elementor Pro Tips for WooCommerce
Dynamic Content
Use Elementor Pro’s dynamic features:
- Display customer names on My Account page
- Show recently viewed products
- Create personalized recommendations
- Display dynamic pricing based on user roles
Custom Widgets
Create reusable elements:
- Save frequently used product layouts as templates
- Create global widgets for trust badges
- Build reusable promotional banner templates
- Design custom product card styles
Popups for Conversion
Use Elementor Pro’s popup builder:
- Exit-intent popups (discount before leaving)
- Newsletter signup popups
- Product quick view popups
- Cart abandonment reminders
- Seasonal promotion announcements
Conditional Display
Show different content based on:
- User login status
- Cart contents
- User role (wholesale vs retail)
- Specific products in cart
- User purchase history
Common Mistakes to Avoid
- Too many popup interruptions: Don’t overwhelm visitors with multiple popups
- Slow loading times: Optimize images and limit widgets per page
- Complicated checkout: Keep it simple with minimal form fields
- Poor mobile experience: Always test and optimize for mobile
- Missing trust signals: Add security badges, reviews, and guarantees
- Unclear shipping costs: Display shipping information upfront
- No contact information: Make it easy for customers to reach you
- Ignoring SEO: Optimize from day one for better visibility
- Skipping backups: Regular backups prevent disaster
- No analytics: Track everything to make informed decisions
Recommended Plugins for Enhanced Functionality
While Elementor Pro handles most design needs, these plugins add valuable features: For Marketing:
- OptinMonster (advanced popups and forms)
- Mailchimp for WooCommerce
- YITH WooCommerce Wishlist
- Social media sharing plugins
For Sales:
- WooCommerce Product Add-Ons
- Dynamic Pricing and Discounts
- YITH WooCommerce Compare
- Smart Coupons
For Performance:
- WP Rocket (caching)
- ShortPixel (image optimization)
- Asset CleanUp (remove unused scripts)
For Analytics:
- Google Analytics for WordPress (MonsterInsights)
- WooCommerce Google Analytics Integration
- Hotjar (user behavior tracking)
When to Seek Professional Help
While building a store with Elementor Pro is accessible, sometimes professional assistance makes sense:
- Complex custom functionality requirements
- Large product catalogs requiring custom solutions
- Advanced payment gateway integrations
- Custom shipping calculators
- Multi-vendor marketplace setups
- Performance optimization for high-traffic stores
- Custom API integrations
Fractal Studio’s WordPress development services can help with complex requirements beyond standard Elementor capabilities, ensuring your store has exactly the functionality your business needs.
Let’s sum it up
Building a WooCommerce store with Elementor Pro gives you complete design freedom without needing coding skills. By following this guide, you can create a professional, conversion-optimized online store that rivals custom-coded solutions at a fraction of the cost and time. Remember these key takeaways:
- Start with solid WooCommerce configuration
- Design with conversion in mind, not just aesthetics
- Optimise for mobile from the beginning
- Test thoroughly before launch
- Continuously improve based on data and customer feedback
Your eCommerce journey doesn’t end at launch, it’s just beginning. Monitor your analytics, listen to customer feedback, and continuously refine your store to improve performance and sales. Whether you’re selling physical products, digital downloads, or services, Elementor Pro and WooCommerce provide a powerful, flexible platform for online success. With dedication and the strategies outlined in this guide, you’re well-equipped to build and grow a thriving online store. Need help bringing your eCommerce vision to life? Contact Fractal Studio for expert assistance with Elementor web design, WooCommerce development, and ongoing website support.